What you'll need:
- iTunes (duh)
- An audio editor (there are many freeware applications, such as Audacity. My personal favorite is GoldWave. There is a free trial with this program, but you'll have to pay for a license [or illegally obtain a key code :P])
- iPhone of any model
Instructions:
- First, open up iTunes and pick out a song that you want to edit.
- Next, open up your audio editor and drag the song onto the application.
- Trim the segment that you'd like to hear as a ringtone. For iPhone users, the limit is 30 seconds.
- As soon as you're done, save the segment as an MP3. Now, open up iTunes again and drag the song into your library. To make sure we do the conversion right, we will make sure that the settings are correct. In iTunes, Go to Edit and click Preferences.... Within the middle of the window, there should be a setting that says When you insert a CD, and the Import Settings button should be to the right of it. Click that button and make sure that the import setting is on AAC Encoder, as shown below:
- Now, right-click on your media file, and click Create AAC Version. After iTunes chugs its engines, it'll spit out a new file with the same metadata, except its new extension is .m4a! Now, drag this file out of iTunes and onto your desktop. Make sure your extensions are visible (to do this, open up Windows Explorer, click on Organize on the top left corner, and click Folder and search options. Then click on the View tab, and uncheck "Hide extensions for known file types.") Right-click on the file, and click Rename. Change the .m4a extension to m4r (r for ringtone). You'll get some pesky error message saying:
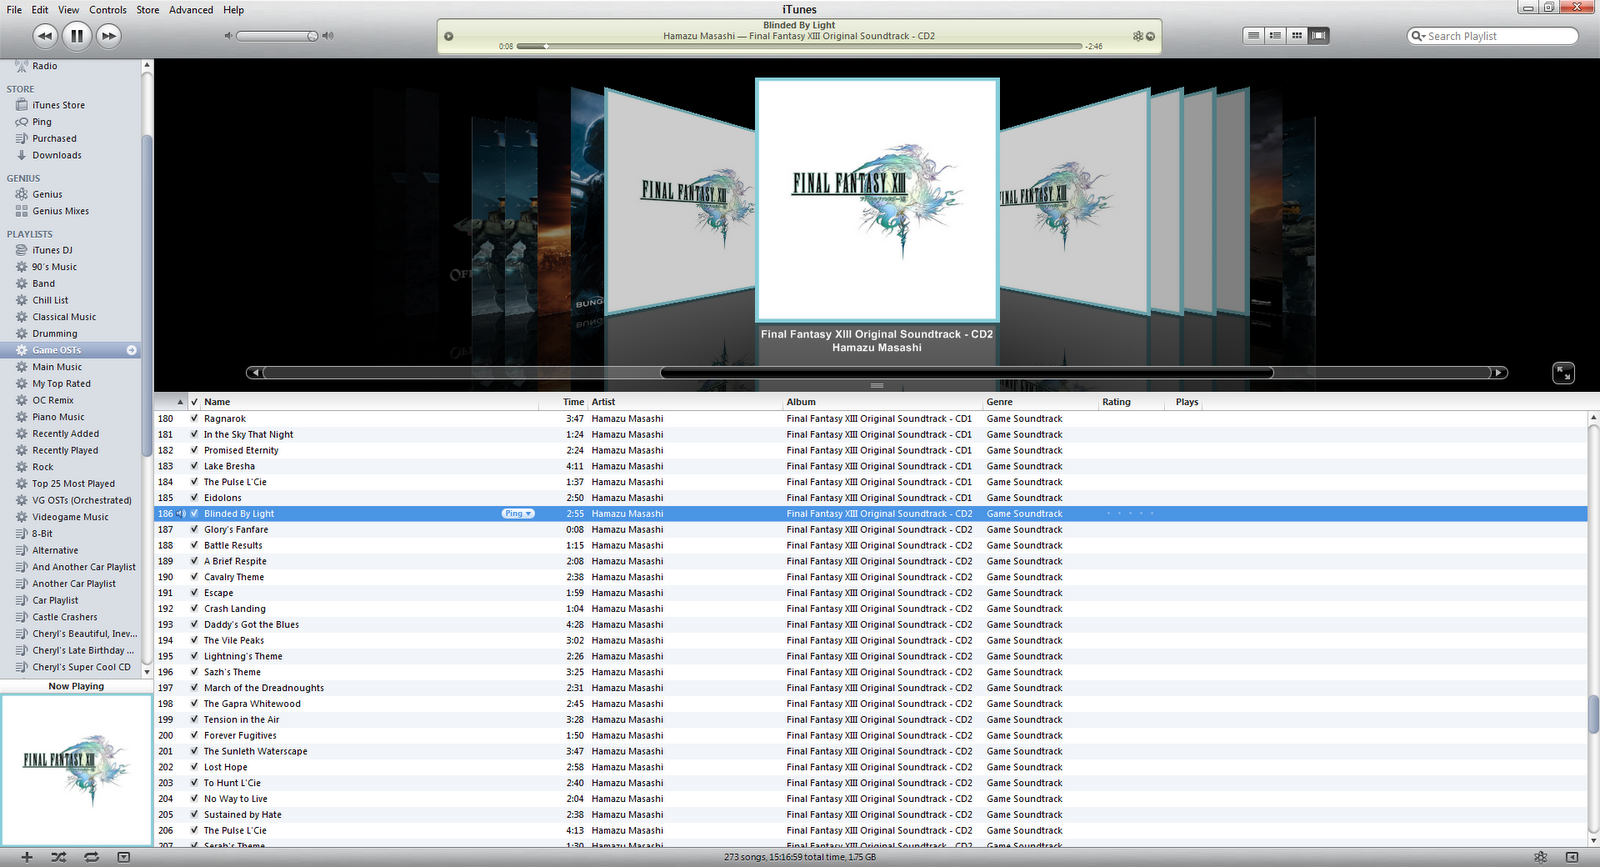
I'm a big FFXIII fan, so I'll choose this song, "Blinded by Light."

If only I could make this my ENTIRE ringtone...

What better snippet to use than the main melody of the entire game?


In this case, it will not render the file unusable. Click yes. Now, drag this under your iTunes library, specifically under Ringtones. The file should show up! Now all that's left is to sync your phone, and voila! You have a custom-made ringtone for your iDevice!
Have you found other ways to make ringtones? Send me your ideas!
Until next time,
Corey
No comments:
Post a Comment